|
This is a pretty cool update by google allowing you to integrate your mobile iOS and Android apps with one SDK / container tag each and then remote control the things you would like to track and analyse later once the native code is build. We will surely be using this one: http://analytics.blogspot.com.au/2013/08/introducing-google-tag-manager-for.html
2 Comments
READ FIRST!!! VERY IMPORTANT UPDATE TO THIS POST. READ FIRST!!! Three days ago I updated all of the apps on my iPhone 4 and from then on my battery lasted only a few hours after usually lasting all day. The decline in battery power was significant from maybe 12 hours down to 3 hours. I was able to fix it through the help of the Apple support chat. Here is what I had to do: Follow these steps to erase your device and to install the backup to fix the components that suck up your battery. 1. Install all iOS updates! Check for software updates and install them if available. 2. Transfer the content! Before you erase your device, take few minutes to transfer your content from your device to your computer to ensure that all your critical data is safe. 3. Back up your iPhone! Back up your device before you erase it. Review the steps below, depending on your backup method, to ensure that you have a recent backup in case you decide to restore your device from a backup. Important: Double check the backup history and settings in iTunes while your iPhone is plugged in and also check the settings you used, e.g. whether you once entered a security password and make sure you know that one! a) iCloud: Cloud backs up your device automatically once a day when connected to power and Wi-Fi. Review when your device was last backed up by tapping Settings > iCloud > Storage & Backup. You can see the last time the device was backed up on the bottom of the page. If you need to back up, tap Backup now. Ensure that your device is connected to Wi-Fi and connected to a power source before backing up. b) iTunes: To back up your device using iTunes:
4. Turn off iMessage! If iMessage is active, turn off iMessage at Settings > Messages > iMessage. No idea why this has to be done, but I did as per Apple instructions 5. Erase your device! Erasing all content and settings will delete all the data from your device, including songs, videos, contacts, photos, calendar information, and any other data. All device settings are restored to their factory condition. To remove all settings and information from your device, tap Settings > General > Reset > Erase All Content and Settings. For more information about this feature, see iOS: Understanding 'Erase All Content and Settings'. 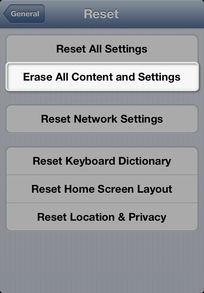 6. Restore your device using a previous backup Plug in your iPhone into your computer running your itunes iCloud
To restore your device using a previous backup, connect your device to iTunes. When your device appears in the source list, right-click your device and click "Restore from backup…". iTunes will ask you to choose the desired backup from the list provided and may also ask you to enter the security password. Note: Some Apple services (such as two-step verification for your Apple ID) require Find My iPhone to be turned on. After testing the issue, sign in to your iCloud account and enable Find My iPhone. Reference: http://support.apple.com/kb/ht4137?viewlocale=en_US READ FIRST!!! VERY IMPORTANT UPDATE TO THIS POST. READ FIRST!!! |
AuthorBjorn Behrendt is a serial entrepreneur with an extensive knowledge about online retail, payments and mobile commerce. 
Interview with brandsExclusive
10 important Retail Statistics
Google Play Records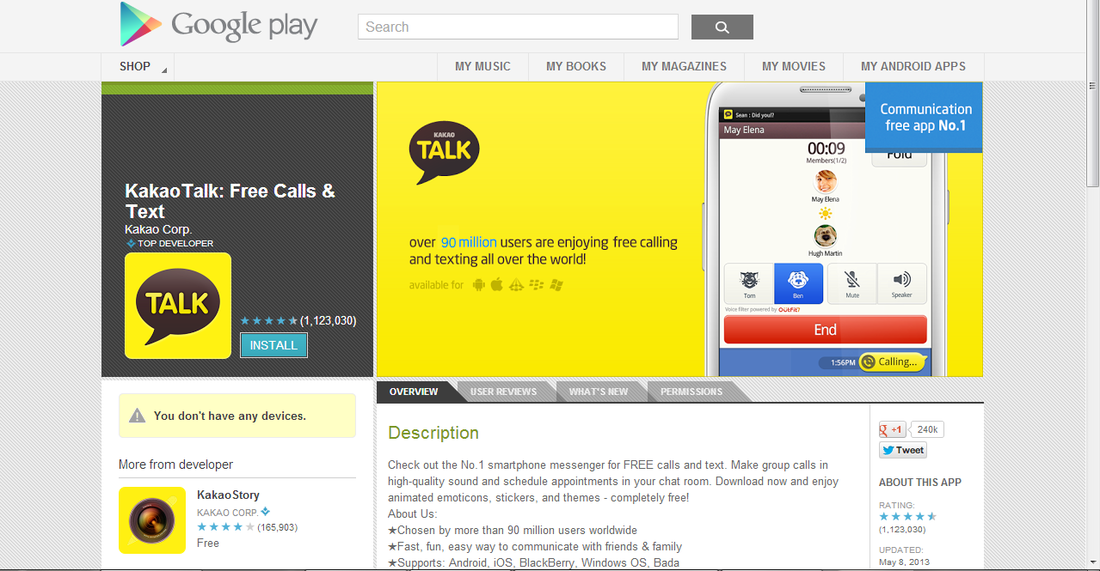
Interview with Futurist
Categories
All
Archives
April 2015
|
 RSS Feed
